Installation example
For better understanding of how to install TinyMCE, let us take a look at the following example.
Problem definition
Suppose you want to allow your employees to edit content on one or more of your pages. You should have a form (the <form> tag) that contains the HTML content.
Page code fragment:
<form method="POST" action="save.php">
	<input name="title" value="Page title"/>
	<textarea name="html" id="html">
		<h2>Some page</h2>
		<p>Lorem ipsum dolor sit amet, consectetur adipiscing elit.</p>
	</textarea>
	<input type="submit"/>
</form>
Without TinyMCE this looks as follows:

Connecting TinyMCE
Now let's connect TinyMCE in the standard configuration (pay attention to the selector):
<form method="POST" action="save.php">
	<input name="title" value="Page title"/>
	<textarea name="html" id="html">
		<h2>Some page</h2>
		<p>Lorem ipsum dolor sit amet, consectetur adipiscing elit.</p>
	</textarea>
	<input type="submit"/>
</form>
<script src="tinymce/tinymce.min.js"></script>
<script>
    tinymce.init({
        selector: "#html",
    });
</script>
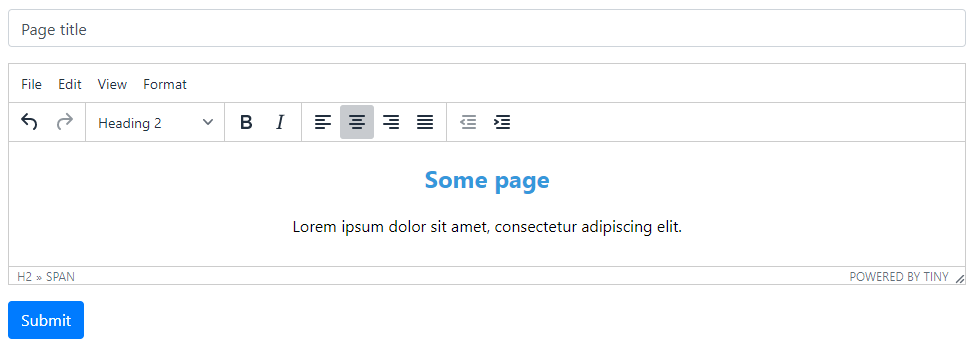
Now TinyMCE works, and our form looks as follows:

Enhancing with add-ons
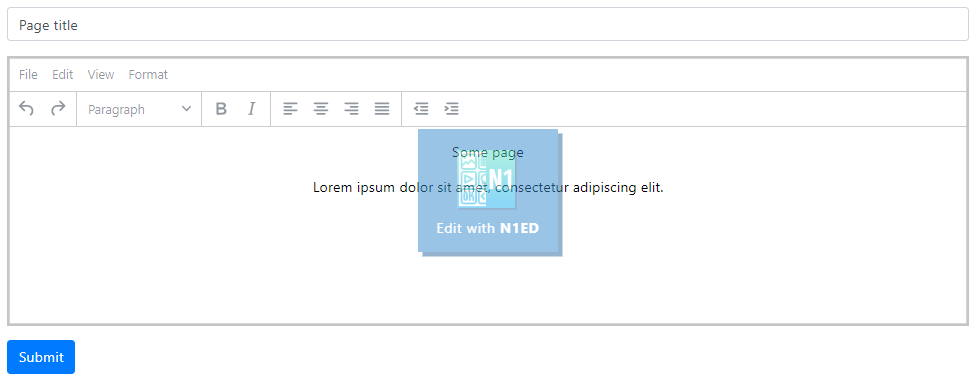
Then, we want to add to TinyMCE some widgets and allow to switch editing to the fullscreen mode. These functions are available in the N1ED add-on. We recommend installing it for everyone who use TinyMCE to edit website pages.
To do this, copy it as tinymce/plugins/n1ed/ and add it to the list of plugins. This plugin does not place any buttons on the standard toolbar (it integrates much deeper, and it has its own widget sidebar), so we merely edit the plugins section.
<form method="POST" action="save.php">
	<input name="title" value="Page title"/>
	<textarea name="html" id="html">
		<h2>Some page</h2>
		<p>Lorem ipsum dolor sit amet, consectetur adipiscing elit.</p>
	</textarea>
	<input type="submit"/>
</form>
<script src="tinymce/tinymce.min.js"></script>
<script>
    tinymce.init({
        selector: "#html",
        plugins: "n1ed"
    });
</script>
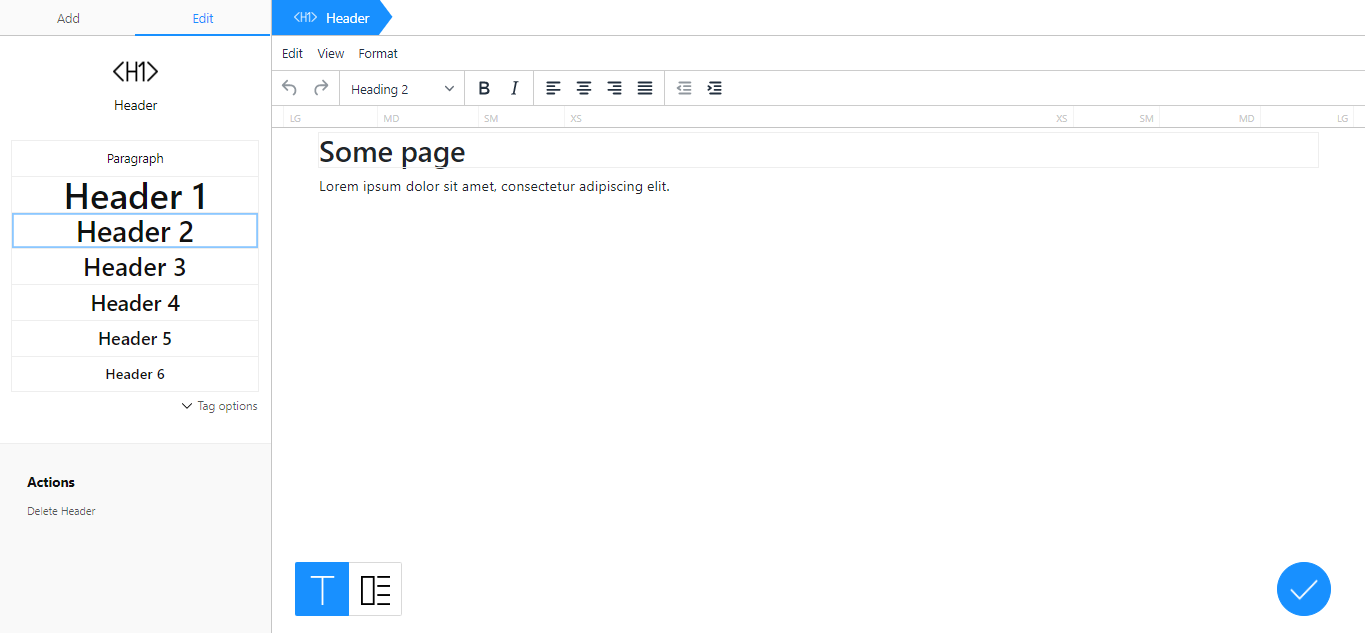
Voila! Your form has transformed to something new, so you can now edit even the complex content using TinyMCE 5.


What's next
The first question users typically have when they start using TinyMCE is: how to work with files and images. Despite this configuration of TinyMCE already allows uploading and embedding images, you may want to manage and edit images as well. Please refer to the Files management in TinyMCE 5 article for more info.