N1ED visual editor logo

N1ED visual editor plugin

Visual editor for creating beautiful content block by block
N1ED page builder screenshot
N1ED page builder screenshotLink styled with BootstrapN1ED supports Bootstrap alert component screenshotN1ED paragraph edit screenshot
N1ED visual editor logo

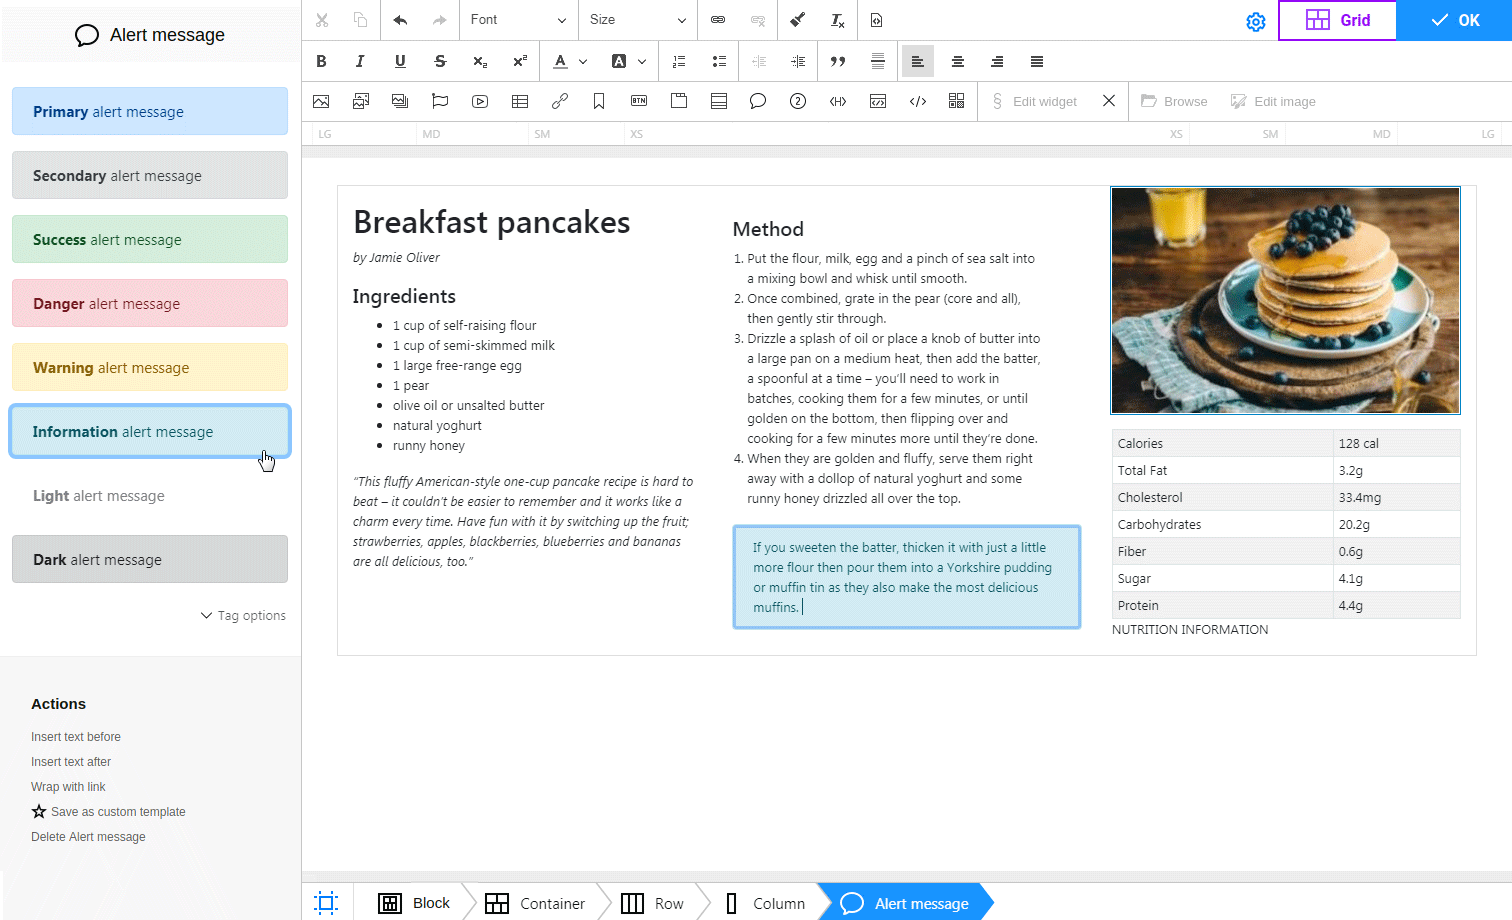
Creating responsive content in TinyMCE and CKEditor becomes easier thanks to free N1ED. You can add such widgets as YouTube video, image galleries, Font Awesome icons etc. A lot of widgets are available in the element palette from the start, plus you can add your own custom templates. Edit content either in the new fullscreen mode, or in the accustomed classic mode.

The server side features the built-in image uploader (PHP, Node or Java) that allows uploading and embedding images to the page on the fly. Embed as a single image, an image with a thumbnail preview, or as an image gallery. Further, you can power up N1ED with a file manager or an image editor thanks to the unified ecosystem of the editor.

To prepare responsive content use the content preview that simulates various devices: mobiles, notes, tabs and desktops. And you don't have to stop editing - the preview allows editing in full. For those who use Bootstrap framework, there is the Bootstrap Editor add-on that adds support for this framework, its own layout manager, and Bootstrap-specific widgets.

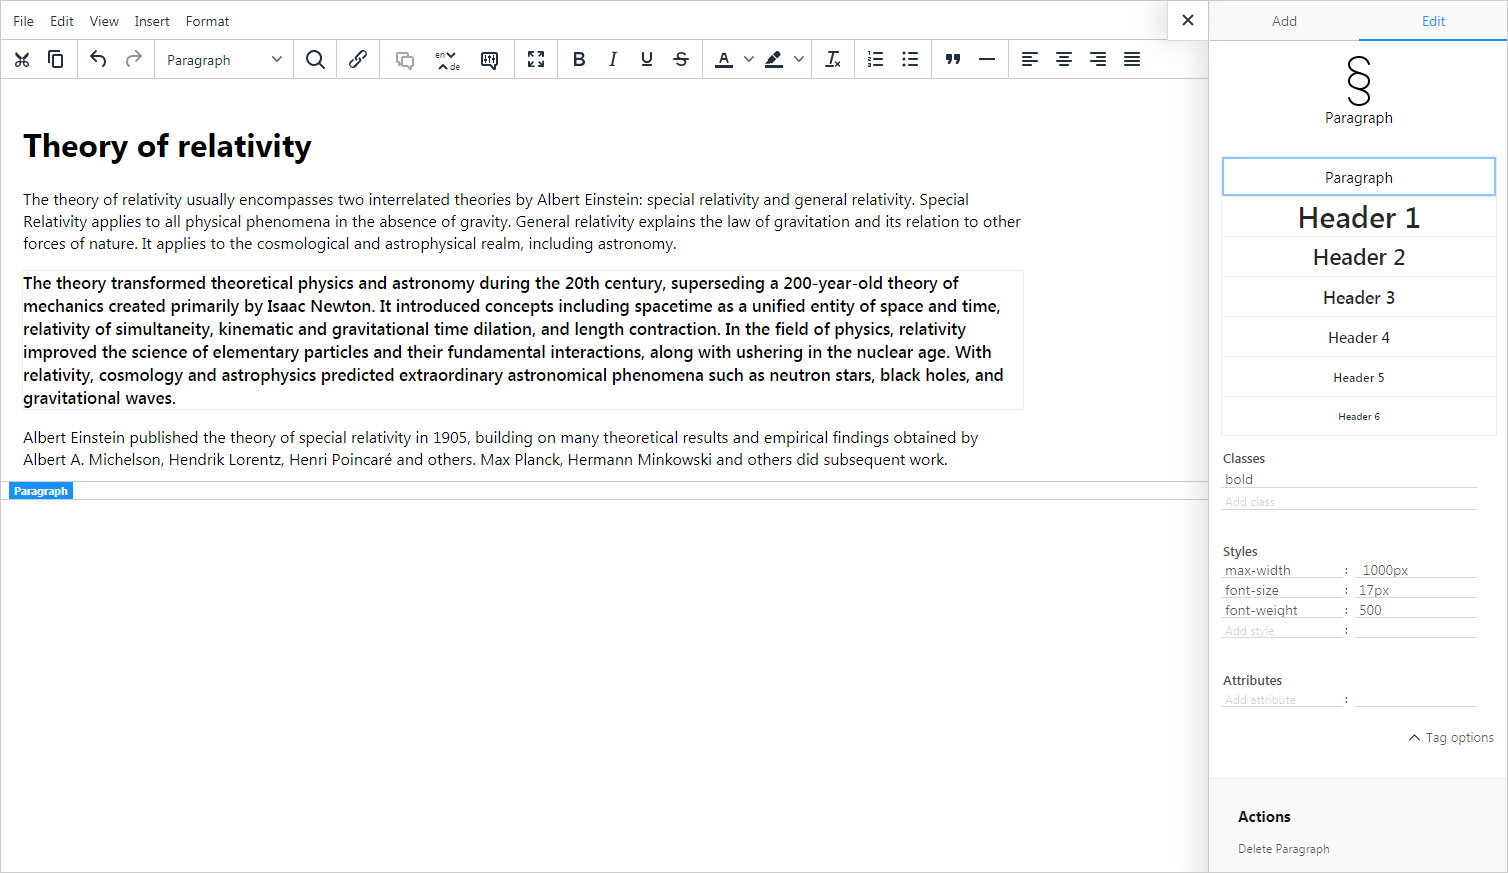
Breadcrumbs are now handy and important tool. They have become semantical, displaying the path to the selected widget based on widget nesting, not on tags. The element selected in the editor or in the breadcrumbs can now be edited without opening any dialogs, directly on the sidebar of the advanced properties editor.

Get more info on N1ED visual editor home page: https://n1ed.com

TinyMCE 6 logo TinyMCE 6
TinyMCE 5 logo TinyMCE 5
TinyMCE 4 logo TinyMCE 4
CKEditor 4 logo CKEditor 4

Install N1ED visual editor plugin in TinyMCE 6

Download N1ED visual editor
ZIP archive of N1ED visual editor for TinyMCE 6
Self-hosted TinyMCE 6
Cloud TinyMCE 6

Install the plugin to TinyMCE 6 hosted on your server

  1. Copy N1ED directory to tinymce/plugins/.
  2. Edit TinyMCE config and add N1ED to plugins parameter.

All the buttons this plugin will add to your toolbar automatically.

Example

Here you can see sample TinyMCE initialization code with config inside it:

TinyMCE.init({
    selector: "#editor",
    plugins: "N1ED",
});

Refer to TinyMCE add-ons installation manual for more details

Install the plugin to cloud edition of TinyMCE 6

  1. Copy N1ED directory somewhere on your server where it can be accessible by a link.
  2. Specify the location of just copied N1ED visual editor plugin adding key-value pair in external_plugins TinyMCE config parameter.
  3. Edit TinyMCE config and add N1ED to plugins parameter.

All the buttons this plugin will add to your toolbar automatically.

Example

Here you can see sample cloud TinyMCE initialization code with config inside it:

TinyMCE.init({
    selector: "#editor",
    plugins: "N1ED",
    external_plugins: {
        "N1ED": "http://example.com/public/N1ED/plugin.min.js",
    },
});

Refer to TinyMCE add-ons installation manual for more details

Install N1ED visual editor plugin in TinyMCE 5

Download N1ED visual editor
ZIP archive of N1ED visual editor for TinyMCE 5
Self-hosted TinyMCE 5
Cloud TinyMCE 5

Install the plugin to TinyMCE 5 hosted on your server

  1. Copy N1ED directory to tinymce/plugins/.
  2. Edit TinyMCE config and add N1ED to plugins parameter.

All the buttons this plugin will add to your toolbar automatically.

Example

Here you can see sample TinyMCE initialization code with config inside it:

TinyMCE.init({
    selector: "#editor",
    plugins: "N1ED",
});

Refer to TinyMCE add-ons installation manual for more details

Install the plugin to cloud edition of TinyMCE 5

  1. Copy N1ED directory somewhere on your server where it can be accessible by a link.
  2. Specify the location of just copied N1ED visual editor plugin adding key-value pair in external_plugins TinyMCE config parameter.
  3. Edit TinyMCE config and add N1ED to plugins parameter.

All the buttons this plugin will add to your toolbar automatically.

Example

Here you can see sample cloud TinyMCE initialization code with config inside it:

TinyMCE.init({
    selector: "#editor",
    plugins: "N1ED",
    external_plugins: {
        "N1ED": "http://example.com/public/N1ED/plugin.min.js",
    },
});

Refer to TinyMCE add-ons installation manual for more details

Install N1ED visual editor plugin in TinyMCE 4

Download N1ED visual editor
ZIP archive of N1ED visual editor for TinyMCE 4

Then do these simple steps:

  1. Copy N1ED directory to tinymce/plugins/.
  2. Edit TinyMCE config and add N1ED to plugins parameter.

All the buttons this plugin will add to your toolbar automatically.

Example

Here you can see sample TinyMCE initialization code with config inside it:

TinyMCE.init({
    selector: "#editor",
    plugins: "N1ED",
});

Refer to TinyMCE add-ons installation manual for more details

Install N1ED visual editor plugin in CKEditor 4

Download N1ED visual editor
ZIP archive of N1ED visual editor for CKEditor 4

Then do these simple steps:

  1. Copy N1ED directory to ckeditor/plugins/.
  2. Edit CKEditor config and add N1ED to extraPlugins parameter.

All the buttons this plugin will add to your toolbar automatically.

Using config file
Using initialization script

Example of configuring with config.js

If you prefer to edit config.js config file of CKEditor or when your CKEditor initialization code is placed inside some non-editable part of CMS, make these changes there:

CKEDITOR.editorConfig = function(config) {
    config.extraPlugins = "N1ED";
};

Example of configuring inside initialization code

Some CMSs do not use config.js file and let to edit CKEditor initialization script only. Do this changes there:

CKEDITOR.replace("#editor", {
    extraPlugins: "N1ED",
});

Install server side

In order to upload and browse files and images, you need to install backend script which will process all your requests from the plugin.

PHP backend logoPHP backend installation
Install from Composer
Install by copying

Install PHP file manager from Composer

Download and install edsdk/flmngr-server-php package by running this console command:

composer require edsdk/flmngr-server-php

Then add in your controller and function serving some URL this code:

use EdSDK\FlmngrServer\FlmngrServer;

FlmngrServer::flmngrRequest(
    array(
        'dirFiles' => '/var/www/files'
    )
);

Install PHP file manager by copying the files

Sometimes you do not have Composer available on your server. No problem, here is a classic way to do it.

Download the latest version of PHP version of Flmngr:

Download PHP server module
ZIP archive of Flmngr backend

and then unpack it to some folder inside your website structure.

The location of where you unpack the files will affect to file manager URL parameter Flmngr.urlFileManager you will specify later. For example, if you unpack to /var/www/flmngr, the URL of File Manager will probably be /flmngr/flmngr.php.

Configure paths and URLs

URL of this script with Flmngr backend will be used as Flmngr.urlFileManager parameter on the client installation step to link backend with frontend.

dirFiles should lead to the directory where all your files are placed. It's recommended to use an absolute path to this directory. Public URL of this directory will be used on the client installation step as Flmngr.urlFiles parameter.

Install .NET file manager

Use NuGet to retrieve the package of Flmngr for .NET MVC applications: search for Flmngr package in Solution Explorer inside Visual Studio.

Configure paths and URLs

Inside Web.config file you should fill these sections:

<configSections>
    <section name="Flmngr" type="Flmngr.Configuration.FileManagerConfigurationSection, Flmngr, Version=1.0.0.0, Culture=neutral"/>
</configSections>

<Flmngr>
    <add key="crossDomainUrl" value="*"/>
    <add key="dirFiles" value="files"/>
</Flmngr>

<system.webServer>
    <handlers>
        <add name="FMHandler" verb="*" path="flmngr" type="Flmngr.Files.Handler, Flmngr" />
    </handlers>
</system.webServer>

According how you configure your path attribute in handlers section, depends which Flmngr.urlFileManager URL will you specify in the client installation step (installation on frontend) to link frontend with backend. In this example the value for frontend will be /flmngr if your application runs from the root URL of your server.

dirFiles should lead to the directory where all your files are placed. Public URL of this directory will be used on the client installation step as Flmngr.urlFiles parameter.

Use in Express
Run standalone

File manager for Node Express server installation

Install NPM package to add Flmngr code to your app:

npm install @edsdk/flmngr-server

Yarn users may use:

yarn add @edsdk/flmngr-server

Bind file manager on some URL

Attach Flmngr file manager to handle some URL on your Express server:

import express from 'express';
import bindFlmngr from '@edsdk/flmngr-server';

const app = express();

bindFlmngr({
    app: app,              // your Express application
    url: '/flmngr',        // URL to handle
    dir: '/var/www/files', // where files are stored into
    config: {}             // optional config
);

For the client installation step you will need to use your url value as Flmngr.urlFileManager on frontend to explain frontend where backend is located.

Please use absolute path for dir parameter. This directory must be available from outside by URL, its URL you can use as Flmngr.urlFiles in the client installation step (used to form URLs of files and images you insert). To make this derectory public, please serve it as folder with static content (if you did not do this yet):

app.use(express.static('/var/www/files'));

Run file manager microservice in Node

This way does not depend from any server/framework and can be used fully standalone or inside your custom app.

Install the package normally:

npm install @edsdk/flmngr-server

Yarn users may use:

yarn add @edsdk/flmngr-server

Then call this code to run Flmngr file manager server:

require("@edsdk/flmngr-server").startFlmngrMicroservice({
    host: 'localhost',
    port: 8080,
    url: '/flmngr',
    dirFiles: './www/files',
    dirRoot: './www'
});

Now you need to retrieve a value for Flmngr.urlFileManager needed for the the client installation step to link file manager dialog with server side. Just join protocol, port (if not 80), and URL. In this sample //localhost:8080/flmngr will be the value.

dirFiles parameter is used to explain to server side where all your files you want to browse are located. This directory must be opened from web and its URL will be the URL used as Flmngr.urlFiles in the the client installation step.

Install Java file manager backend

Java backend is prepared as Spring Boot application which can be run in any environment (Spring Boot is not required). You can handle some URL in it nad serve incoming requests from a file manager dialog and uploader.

Download Java module
ZIP archive of Flmngr backend

Then copy flmngr.jar to the place.

All the options are located inside application.properties file. Please configure port and directories there.

Your option Flmngr.urlFileManager required for linking file manager dialog with the backend will depend of preferences you typed in the file. I. e. by default this URL will be //localhost:22022/.

You will also need a value for Flmngr.urlFiles option for frontend. This will be the URL your dirFiles directory is available on web by. Please check that you configured your webserver to serve static content from it.

Run the server with the command:

java -jar flmngr.jar
or just (in Unix):
./flmngr.jar

Reviews

We have a cloud CMS we sell on a subscription to our clients working in a specific niche. This CMS is not highly customizable but has a number of integrations our users love us for.

Recently we understood the weak point of our service is our users can not create really rich content pages with standard TinyMCE tools.

That's why we started to search what are the options and found N1ED which let our clients to divide their pages using columns and add interactive widgets on them.

The feedback from our clients was very good - this fact is a good signal for us for planning future cashflow.

User icon
Henry B.
Web service (SaaS)

Amazing plugins my customers asked about.

Use it all time to create columns in a content and browse images.

User icon
Jack R.
Freelancer

We use N1ED in Drupal 8 using this Drupal module. It improved our CKEditor installed in Drupal and upload image field outside the editor. Our agency installs it on every website we build.

User icon
Arny A.
Agency

We have installed the n1ed plugin module for use with Drupal, and have had success in integrating it with our editor. Basically, we're using it to get the column structure using grid.

User icon
Olivia S.
Agency

I've just evaluated several WYSIWYG solutions for implementation into our CMS. Looking for easier solutions to build content pages for our customers. (Currently based on TinyMCE 5 + BS5 Plugin)

That's when I stumbled over N1ED.

So in general I must say that I like what I saw.

User icon
Andrew S.
Agency

Tell a friend about N1ED visual editor

Send