Font Awesome logo

Font Awesome plugin

Insert Font Awesome icons into your content
Font Awesome screenshot
Font Awesome screenshotFont Awesome color picking screenshot
Font Awesome logo

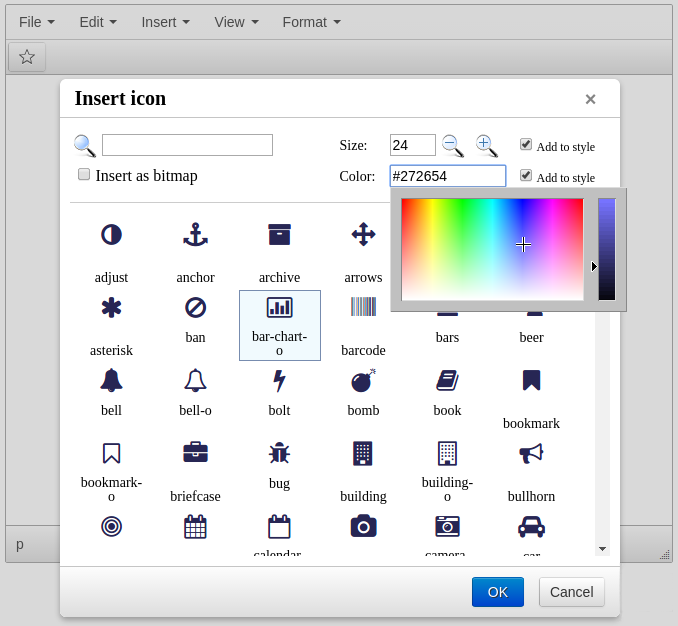
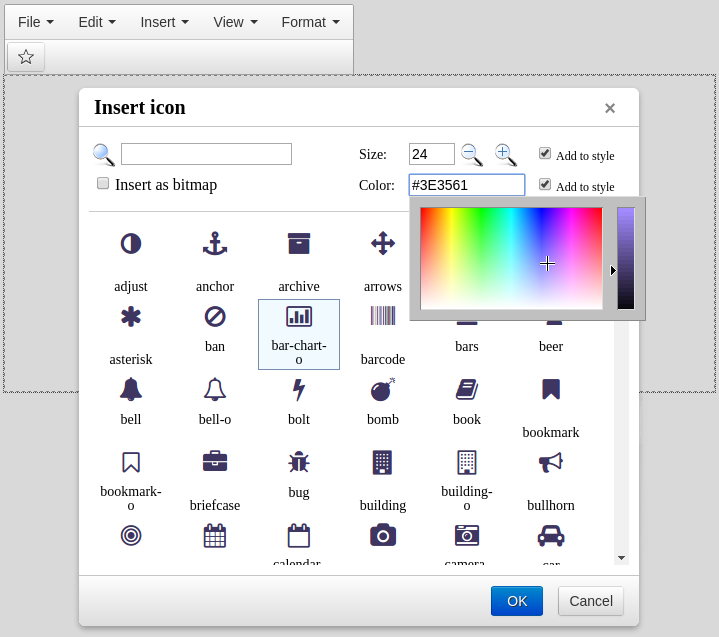
Font Awesome is simple but powerful plugin which will let you to insert Font Awesome icons into your document.

Choose one of 400+ icons and configure their color and size.

If you do not have Font Awesome installed on your server (and do not want to do it), the plugin supports inserting a bitmap version of any symbols (with any color and size). This feature requires PHP & GD image library.

Icons can be fully configured: set any default font and color, all checkboxes' default state. Also you can hide bitmap conversion feature at all if you do not require it.

CKEditor 4 logo CKEditor 4
TinyMCE 6 logo TinyMCE 6
TinyMCE 5 logo TinyMCE 5
TinyMCE 4 logo TinyMCE 4

Install Font Awesome plugin in CKEditor 4

Download Font Awesome
ZIP archive of Font Awesome for CKEditor 4

Then do these simple steps:

  1. Copy FontAwesome directory to ckeditor/plugins/.
  2. Edit CKEditor config and add FontAwesome to extraPlugins parameter.

All the buttons this plugin will add to your toolbar automatically.

Using config file
Using initialization script

Example of configuring with config.js

If you prefer to edit config.js config file of CKEditor or when your CKEditor initialization code is placed inside some non-editable part of CMS, make these changes there:

CKEDITOR.editorConfig = function(config) {
    config.extraPlugins = "FontAwesome";
};

Example of configuring inside initialization code

Some CMSs do not use config.js file and let to edit CKEditor initialization script only. Do this changes there:

CKEDITOR.replace("#editor", {
    extraPlugins: "FontAwesome",
});

Install Font Awesome plugin in TinyMCE 6

Download Font Awesome
ZIP archive of Font Awesome for TinyMCE 6
Self-hosted TinyMCE 6
Cloud TinyMCE 6

Install the plugin to TinyMCE 6 hosted on your server

  1. Copy FontAwesome directory to tinymce/plugins/.
  2. Edit TinyMCE config and add FontAwesome to plugins parameter.

All the buttons this plugin will add to your toolbar automatically.

Example

Here you can see sample TinyMCE initialization code with config inside it:

TinyMCE.init({
    selector: "#editor",
    plugins: "FontAwesome",
});

Refer to TinyMCE add-ons installation manual for more details

Install the plugin to cloud edition of TinyMCE 6

  1. Copy FontAwesome directory somewhere on your server where it can be accessible by a link.
  2. Specify the location of just copied Font Awesome plugin adding key-value pair in external_plugins TinyMCE config parameter.
  3. Edit TinyMCE config and add FontAwesome to plugins parameter.

All the buttons this plugin will add to your toolbar automatically.

Example

Here you can see sample cloud TinyMCE initialization code with config inside it:

TinyMCE.init({
    selector: "#editor",
    plugins: "FontAwesome",
    external_plugins: {
        "FontAwesome": "http://example.com/public/FontAwesome/plugin.min.js",
    },
});

Refer to TinyMCE add-ons installation manual for more details

Install Font Awesome plugin in TinyMCE 5

Download Font Awesome
ZIP archive of Font Awesome for TinyMCE 5
Self-hosted TinyMCE 5
Cloud TinyMCE 5

Install the plugin to TinyMCE 5 hosted on your server

  1. Copy FontAwesome directory to tinymce/plugins/.
  2. Edit TinyMCE config and add FontAwesome to plugins parameter.

All the buttons this plugin will add to your toolbar automatically.

Example

Here you can see sample TinyMCE initialization code with config inside it:

TinyMCE.init({
    selector: "#editor",
    plugins: "FontAwesome",
});

Refer to TinyMCE add-ons installation manual for more details

Install the plugin to cloud edition of TinyMCE 5

  1. Copy FontAwesome directory somewhere on your server where it can be accessible by a link.
  2. Specify the location of just copied Font Awesome plugin adding key-value pair in external_plugins TinyMCE config parameter.
  3. Edit TinyMCE config and add FontAwesome to plugins parameter.

All the buttons this plugin will add to your toolbar automatically.

Example

Here you can see sample cloud TinyMCE initialization code with config inside it:

TinyMCE.init({
    selector: "#editor",
    plugins: "FontAwesome",
    external_plugins: {
        "FontAwesome": "http://example.com/public/FontAwesome/plugin.min.js",
    },
});

Refer to TinyMCE add-ons installation manual for more details

Install Font Awesome plugin in TinyMCE 4

Download Font Awesome
ZIP archive of Font Awesome for TinyMCE 4

Then do these simple steps:

  1. Copy FontAwesome directory to tinymce/plugins/.
  2. Edit TinyMCE config and add FontAwesome to plugins parameter.

All the buttons this plugin will add to your toolbar automatically.

Example

Here you can see sample TinyMCE initialization code with config inside it:

TinyMCE.init({
    selector: "#editor",
    plugins: "FontAwesome",
});

Refer to TinyMCE add-ons installation manual for more details

Reviews

I love the style of Font awesome icons and their great variety. And now they are all in one package in my CKEditor with a search option. That is so great!

There are tools for settings style, size, color, and even transform. Thanks!

User icon
Rita K.
Freelancer

I have an Emoticons plugin for Tiny editor. And I definitely use Font Awesome icons more often. It has a huge choice of icons and brand logos in a general style. The inserted icons are fully customizable.

Like Emoticons this addon is easily added and used.

User icon
Eugen J.
Individual

Tell a friend about Font Awesome

Send