File Uploader logo

File Uploader plugin

Uploading files into your server
File Uploader screenshot
File Uploader screenshotImage size screenshotTable mode screenshotUploaded files screenshotURL image upload screenshot
File Uploader logo

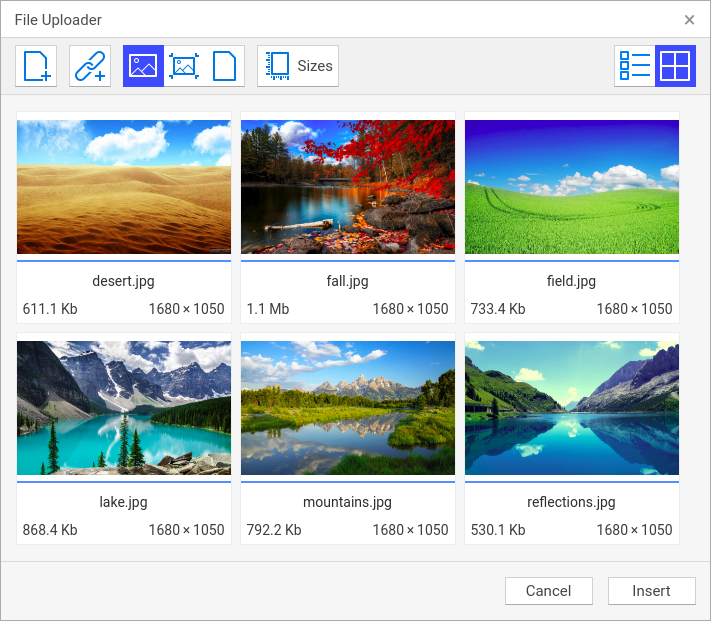
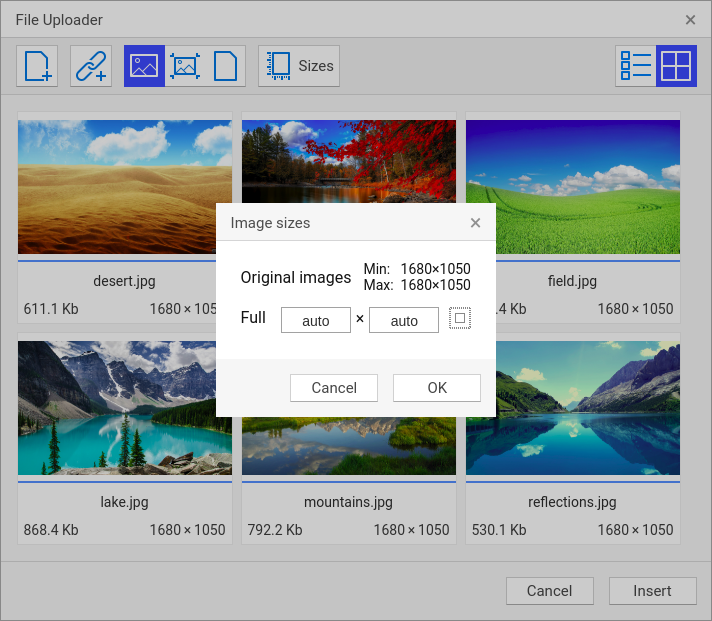
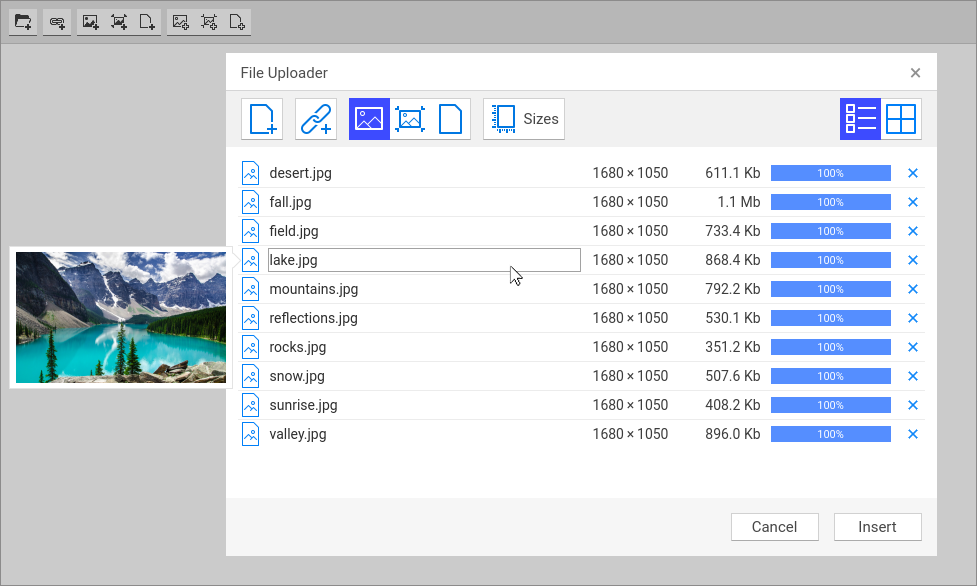
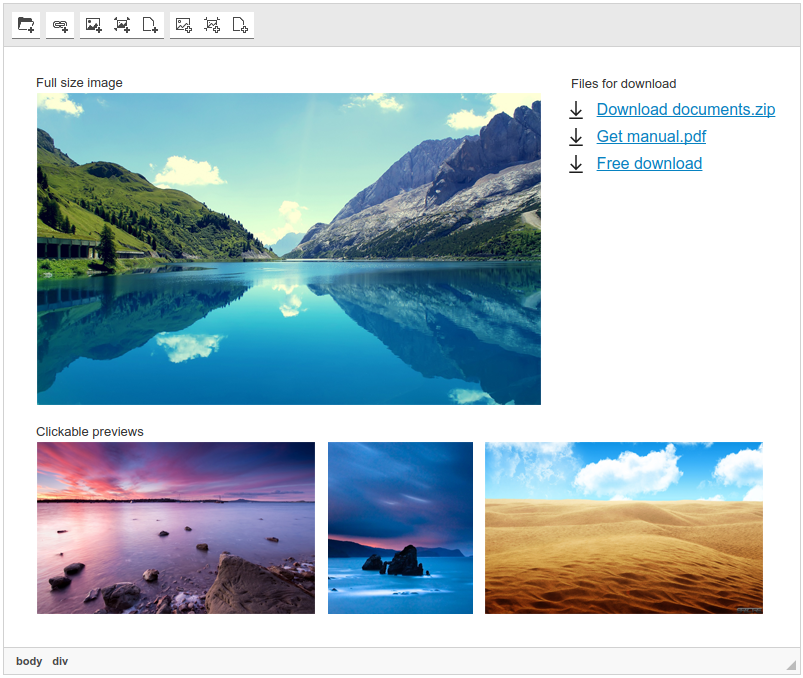
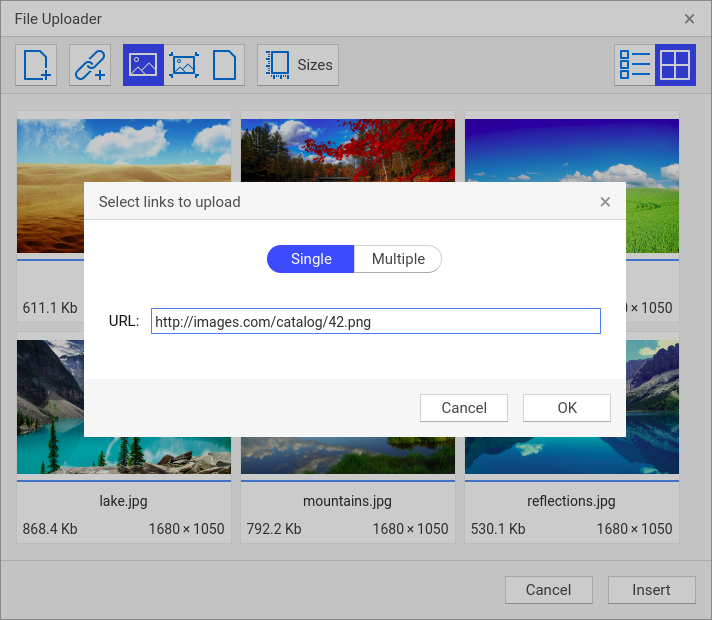
File Uploader is a versatile solution to upload files and images to the server and to embed them into the edited document. You can resize uploaded images, and insert them as previews or links. You don't need any third-party file manager, because File Uploader is absolutely standalone product.

This component is ideal both for an administration panel for content managers and for the comments form on your website to allow visitors attaching pictures or photos to their messages.

CKEditor 4 logo CKEditor 4
TinyMCE 6 logo TinyMCE 6
TinyMCE 5 logo TinyMCE 5
TinyMCE 4 logo TinyMCE 4

Install File Uploader plugin in CKEditor 4

Download File Uploader
ZIP archive of File Uploader for CKEditor 4

Then do these simple steps:

  1. Copy FileUploader directory to ckeditor/plugins/.
  2. Edit CKEditor config and add FileUploader to extraPlugins parameter.

All the buttons this plugin will add to your toolbar automatically.

Using config file
Using initialization script

Example of configuring with config.js

If you prefer to edit config.js config file of CKEditor or when your CKEditor initialization code is placed inside some non-editable part of CMS, make these changes there:

CKEDITOR.editorConfig = function(config) {
    config.extraPlugins = "FileUploader";
};

Example of configuring inside initialization code

Some CMSs do not use config.js file and let to edit CKEditor initialization script only. Do this changes there:

CKEDITOR.replace("#editor", {
    extraPlugins: "FileUploader",
});

Install File Uploader plugin in TinyMCE 6

Download File Uploader
ZIP archive of File Uploader for TinyMCE 6
Self-hosted TinyMCE 6
Cloud TinyMCE 6

Install the plugin to TinyMCE 6 hosted on your server

  1. Copy FileUploader directory to tinymce/plugins/.
  2. Edit TinyMCE config and add FileUploader to plugins parameter.

All the buttons this plugin will add to your toolbar automatically.

Example

Here you can see sample TinyMCE initialization code with config inside it:

TinyMCE.init({
    selector: "#editor",
    plugins: "FileUploader",
});

Refer to TinyMCE add-ons installation manual for more details

Install the plugin to cloud edition of TinyMCE 6

  1. Copy FileUploader directory somewhere on your server where it can be accessible by a link.
  2. Specify the location of just copied File Uploader plugin adding key-value pair in external_plugins TinyMCE config parameter.
  3. Edit TinyMCE config and add FileUploader to plugins parameter.

All the buttons this plugin will add to your toolbar automatically.

Example

Here you can see sample cloud TinyMCE initialization code with config inside it:

TinyMCE.init({
    selector: "#editor",
    plugins: "FileUploader",
    external_plugins: {
        "FileUploader": "http://example.com/public/FileUploader/plugin.min.js",
    },
});

Refer to TinyMCE add-ons installation manual for more details

Install File Uploader plugin in TinyMCE 5

Download File Uploader
ZIP archive of File Uploader for TinyMCE 5
Self-hosted TinyMCE 5
Cloud TinyMCE 5

Install the plugin to TinyMCE 5 hosted on your server

  1. Copy FileUploader directory to tinymce/plugins/.
  2. Edit TinyMCE config and add FileUploader to plugins parameter.

All the buttons this plugin will add to your toolbar automatically.

Example

Here you can see sample TinyMCE initialization code with config inside it:

TinyMCE.init({
    selector: "#editor",
    plugins: "FileUploader",
});

Refer to TinyMCE add-ons installation manual for more details

Install the plugin to cloud edition of TinyMCE 5

  1. Copy FileUploader directory somewhere on your server where it can be accessible by a link.
  2. Specify the location of just copied File Uploader plugin adding key-value pair in external_plugins TinyMCE config parameter.
  3. Edit TinyMCE config and add FileUploader to plugins parameter.

All the buttons this plugin will add to your toolbar automatically.

Example

Here you can see sample cloud TinyMCE initialization code with config inside it:

TinyMCE.init({
    selector: "#editor",
    plugins: "FileUploader",
    external_plugins: {
        "FileUploader": "http://example.com/public/FileUploader/plugin.min.js",
    },
});

Refer to TinyMCE add-ons installation manual for more details

Install File Uploader plugin in TinyMCE 4

Download File Uploader
ZIP archive of File Uploader for TinyMCE 4

Then do these simple steps:

  1. Copy FileUploader directory to tinymce/plugins/.
  2. Edit TinyMCE config and add FileUploader to plugins parameter.

All the buttons this plugin will add to your toolbar automatically.

Example

Here you can see sample TinyMCE initialization code with config inside it:

TinyMCE.init({
    selector: "#editor",
    plugins: "FileUploader",
});

Refer to TinyMCE add-ons installation manual for more details

Reviews

I was looking for such plugin for my home blog. I needed a simple utility that can upload pictures for my posts.

I found it, thanks!

User icon
Sarah B.
Individual

It is a very lightweight and functional tool. We integrated the uploader into the comment forms on our portal. This solution turned out reasonable. Based on analytics data, our visitors use it really often.

User icon
Bruno M.
Individual

Tell a friend about File Uploader

Send