Bootstrap Widgets logo

Bootstrap Widgets plugin

Bootstrap widgets: tabs, accordion, carousel, buttons and others
Bootstrap Widgets screenshot
Bootstrap Widgets screenshotAccordion Widget screenshotAccordion Widget screenshotAlert Widget screenshotBadges Widget screenshotButtons Widget screenshotLabels Widget screenshot
Bootstrap Widgets logo

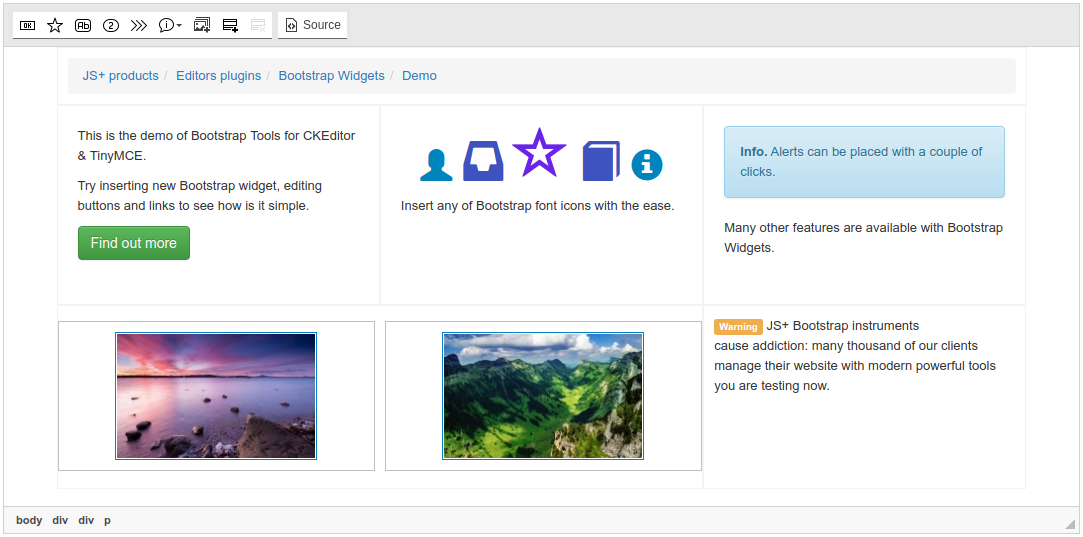
Meet the Bootstrap Widgets add-on! It allows inserting the components provided by Bootstrap and Foundation CSS frameworks into your editor. The set significantly extends the functionality of your TinyMCE or CKEditor.

Features:

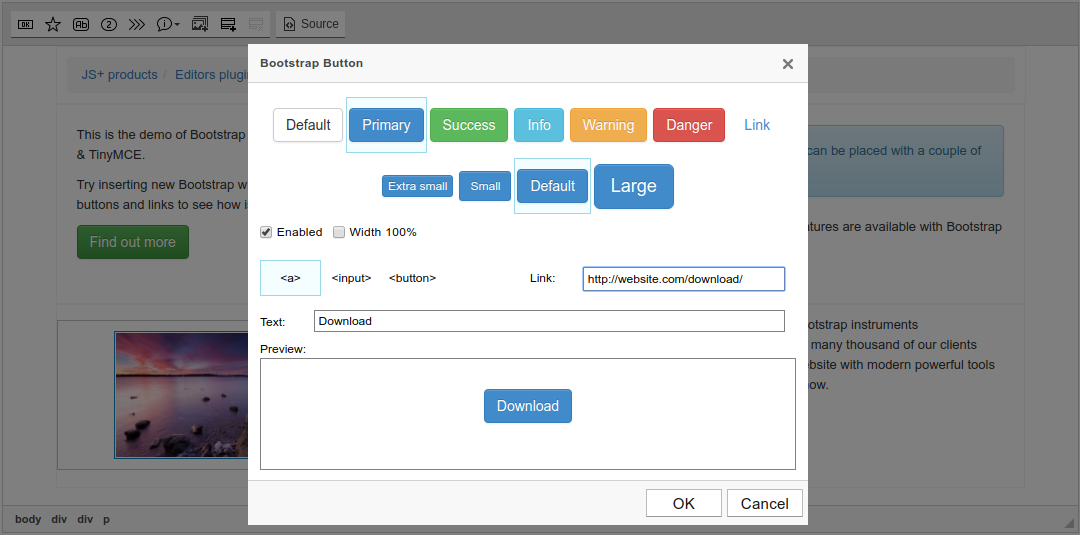
  • Create Bootstrap’s custom button styles for actions in forms, dialogs, and more.
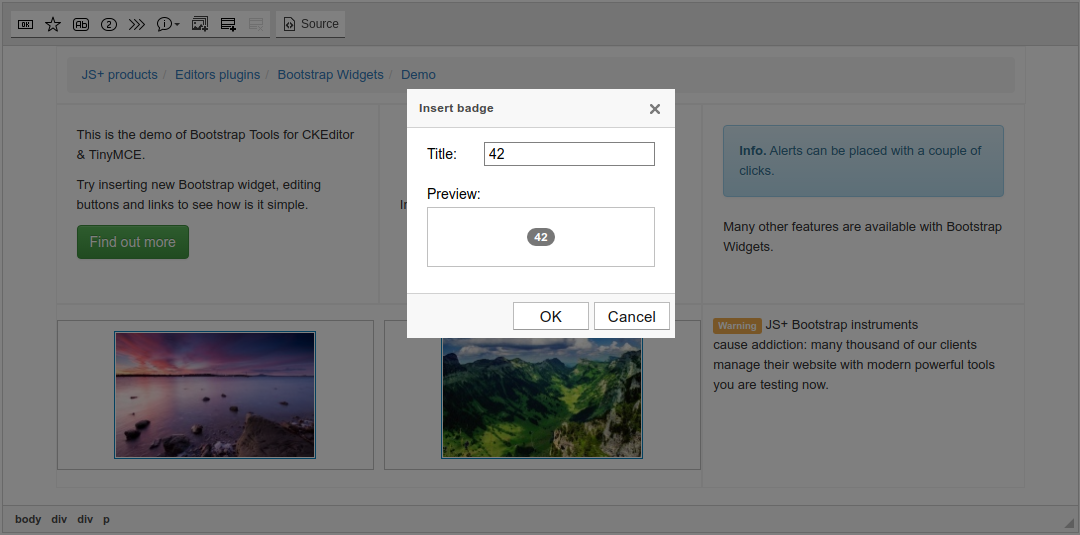
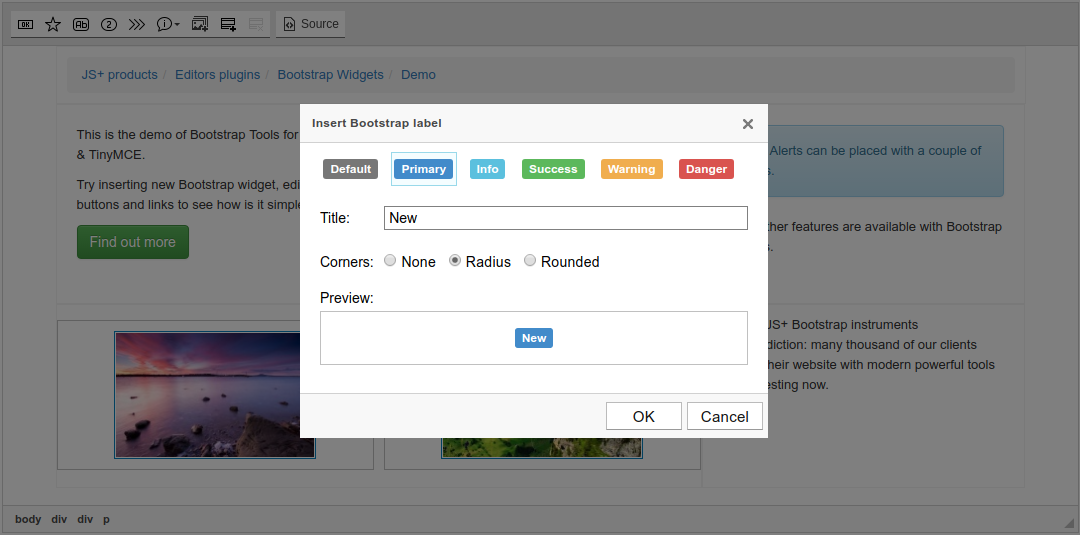
  • Use Badges and Labels. It is information symbols with short text.
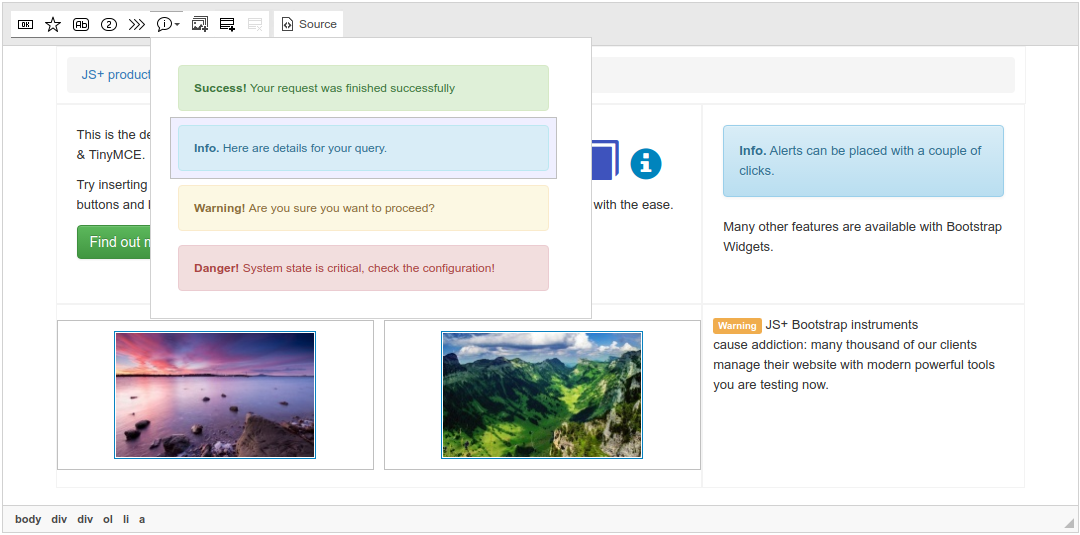
  • Alert messages provide contextual feedback messages for typical user actions.
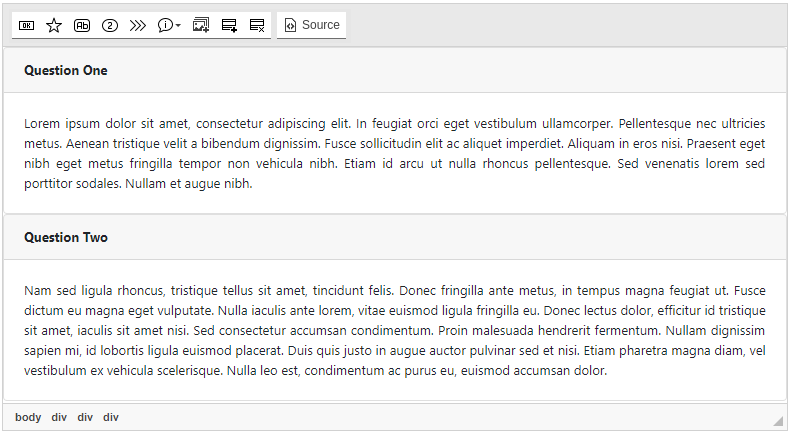
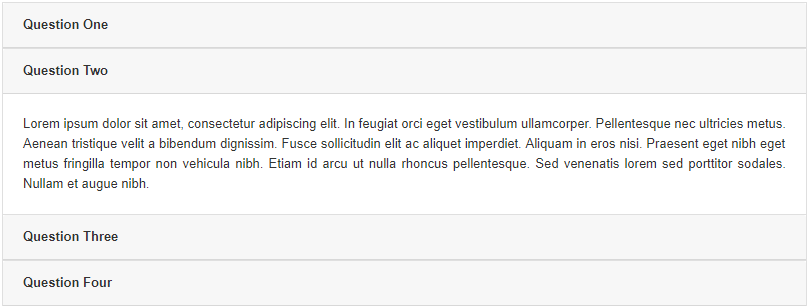
  • Accordion which organizes content within collapsable items.
  • Create tabbable regions.
  • Carousel is a slideshow component for cycling through images.
CKEditor 4 logo CKEditor 4
TinyMCE 6 logo TinyMCE 6
TinyMCE 5 logo TinyMCE 5
TinyMCE 4 logo TinyMCE 4

Install Bootstrap Widgets plugin in CKEditor 4

Download Bootstrap Widgets
ZIP archive of Bootstrap Widgets for CKEditor 4

Then do these simple steps:

  1. Copy BootstrapWidgets directory to ckeditor/plugins/.
  2. Edit CKEditor config and add BootstrapWidgets to extraPlugins parameter.

All the buttons this plugin will add to your toolbar automatically.

Using config file
Using initialization script

Example of configuring with config.js

If you prefer to edit config.js config file of CKEditor or when your CKEditor initialization code is placed inside some non-editable part of CMS, make these changes there:

CKEDITOR.editorConfig = function(config) {
    config.extraPlugins = "BootstrapWidgets";
};

Example of configuring inside initialization code

Some CMSs do not use config.js file and let to edit CKEditor initialization script only. Do this changes there:

CKEDITOR.replace("#editor", {
    extraPlugins: "BootstrapWidgets",
});

Install Bootstrap Widgets plugin in TinyMCE 6

Download Bootstrap Widgets
ZIP archive of Bootstrap Widgets for TinyMCE 6
Self-hosted TinyMCE 6
Cloud TinyMCE 6

Install the plugin to TinyMCE 6 hosted on your server

  1. Copy BootstrapWidgets directory to tinymce/plugins/.
  2. Edit TinyMCE config and add BootstrapWidgets to plugins parameter.

All the buttons this plugin will add to your toolbar automatically.

Example

Here you can see sample TinyMCE initialization code with config inside it:

TinyMCE.init({
    selector: "#editor",
    plugins: "BootstrapWidgets",
});

Refer to TinyMCE add-ons installation manual for more details

Install the plugin to cloud edition of TinyMCE 6

  1. Copy BootstrapWidgets directory somewhere on your server where it can be accessible by a link.
  2. Specify the location of just copied Bootstrap Widgets plugin adding key-value pair in external_plugins TinyMCE config parameter.
  3. Edit TinyMCE config and add BootstrapWidgets to plugins parameter.

All the buttons this plugin will add to your toolbar automatically.

Example

Here you can see sample cloud TinyMCE initialization code with config inside it:

TinyMCE.init({
    selector: "#editor",
    plugins: "BootstrapWidgets",
    external_plugins: {
        "BootstrapWidgets": "http://example.com/public/BootstrapWidgets/plugin.min.js",
    },
});

Refer to TinyMCE add-ons installation manual for more details

Install Bootstrap Widgets plugin in TinyMCE 5

Download Bootstrap Widgets
ZIP archive of Bootstrap Widgets for TinyMCE 5
Self-hosted TinyMCE 5
Cloud TinyMCE 5

Install the plugin to TinyMCE 5 hosted on your server

  1. Copy BootstrapWidgets directory to tinymce/plugins/.
  2. Edit TinyMCE config and add BootstrapWidgets to plugins parameter.

All the buttons this plugin will add to your toolbar automatically.

Example

Here you can see sample TinyMCE initialization code with config inside it:

TinyMCE.init({
    selector: "#editor",
    plugins: "BootstrapWidgets",
});

Refer to TinyMCE add-ons installation manual for more details

Install the plugin to cloud edition of TinyMCE 5

  1. Copy BootstrapWidgets directory somewhere on your server where it can be accessible by a link.
  2. Specify the location of just copied Bootstrap Widgets plugin adding key-value pair in external_plugins TinyMCE config parameter.
  3. Edit TinyMCE config and add BootstrapWidgets to plugins parameter.

All the buttons this plugin will add to your toolbar automatically.

Example

Here you can see sample cloud TinyMCE initialization code with config inside it:

TinyMCE.init({
    selector: "#editor",
    plugins: "BootstrapWidgets",
    external_plugins: {
        "BootstrapWidgets": "http://example.com/public/BootstrapWidgets/plugin.min.js",
    },
});

Refer to TinyMCE add-ons installation manual for more details

Install Bootstrap Widgets plugin in TinyMCE 4

Download Bootstrap Widgets
ZIP archive of Bootstrap Widgets for TinyMCE 4

Then do these simple steps:

  1. Copy BootstrapWidgets directory to tinymce/plugins/.
  2. Edit TinyMCE config and add BootstrapWidgets to plugins parameter.

All the buttons this plugin will add to your toolbar automatically.

Example

Here you can see sample TinyMCE initialization code with config inside it:

TinyMCE.init({
    selector: "#editor",
    plugins: "BootstrapWidgets",
});

Refer to TinyMCE add-ons installation manual for more details

Reviews

This is exactly what I was looking for and really look forward to the future updates and new widgets :)

User icon
Joseph J.
Freelancer

The Bootstrap component suite turned out to be the perfect tool for me. It is enough to just insert the element without editing the source. Content would be incomplete without tabs, accordions, and carousels.

User icon
Alfred X.
Individual

Tell a friend about Bootstrap Widgets

Send